moleculer-spring-boot-demo
Moleculer Java Demo Project
The project demonstrates a possible design of a functioning Moleculer-based web-application. The application is launched and configured by the SpringBoot Framework. The project can be easily imported into the Eclipse IDE.
The project also includes a “buildInstaller” Gradle command to create a Windows Installer from the project, and it will install the finished application as a 64-bit Windows Service.
The Windows Service creates a Moleculer Node that can be connected to another Java or Node.js-based Moleculer Node.
Topics of the examples
- Integration of Moleculer API into the Spring Boot Framework
- Configuring HTTP Routes and Middlewares
- Creating non-blocking Moleculer Services and Event Listeners
- Publishing and invoking Moleculer Services as REST Services
- Generating HTML pages in multiple languages using Template Engines
- Using WebSockets (sending real-time server-side events to browsers)
- Using file upload and download
- Video streaming and server-side image generation
- Creating a WAR from the finished project (Servlet-based runtime)
- Run code without any changes in “standalone mode” (Netty-based runtime)
Download binaries for testing
This web application can be deployed to Tomcat, JBoss, Glassfish, WebLogic:
After the deployment, the examples are available at a URL similar to the one below:
http://appserver-host:port/moleculer-demo
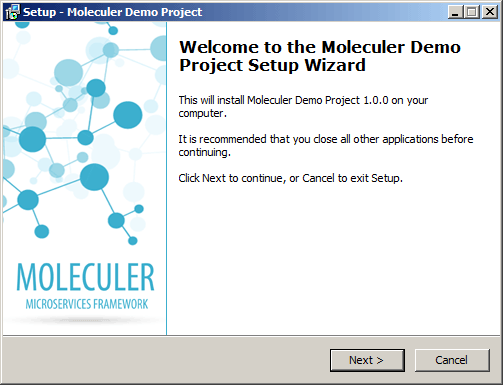
Download 64-bit Windows Installer for testing the standalone, high performance but lightweight version of this demo:
After the installation, the application can be started in “development” or “production” mode. For “development” mode, run the following BAT file:
C:\Program Files\Moleculer Demo Project\bin\development-start.bat
The application starts in “development” mode with an Interactive Console (enter “help” or “info” to try it out). The sample programs are available at the following URL:
http://localhost:3000/
To exit the application, type “exit” in the Interactive Console. In “production” mode, launch the application with “production-start.bat”. The demo will then run as a Windows Service in the background. The application cannot run at the same time in “production” and “development” mode because the two versions use the same port. To stop the Windows Service, run “production-stop.bat”.
Compile and run from source code (IntelliJ IDEA)
The project is designed to be imported into both Eclipse and IntelliJ Idea development environments. IntelliJ Idea doesn’t need any external plugin to compile and run this demo. Just download the sources and import it as a Java/Gradle Project. To run, the following parameters must be specified in the Run Configuration:
- Main class: services.moleculer.config.MoleculerRunner
- VM options: -Djava.library.path=”installer/bin” -Dlogging.config=”classpath:logging-development.properties” -Djava.net.preferIPv4Stack=true -Dspring.profiles.active=development
- Program arguments: my.application.MoleculerApplication
Compile and run from source code (Eclipse SDK)
1.) To run this Moleculer Application you need to download and install
- Java JDK (8 or higher)
- Eclipse IDE for Java Developers
- Buildship Gradle Integration (Eclipse plug-in)
- Git Integration for Eclipse (Eclipse plug-in)
2.) Copy this URL: https://github.com/moleculer-java/moleculer-spring-boot-demo.git
3.) Open the “Git” perspective in Eclipse. Press “CTRL+V” to paste repository URL into the “Git Repositories” area.
4.) Download the project from the repository. Left click on project, then click on the “Gradle/Refresh Gradle Project” option.
5.) Left click on “molleculer-demo.launch” file, and press on the “Run As/moleculer-demo” option.
Build Web Application WAR
To create a WAR for J2EE servers, run the “gradle war” command in the project’s root directory. The generated WAR is compatible with the following Application Servers:
- Oracle WebLogic Server V12
- Red Hat JBoss Enterprise Application Platform V7
- WebSphere Application Server V19 Liberty
- GlassFish Server Open Source Edition V4 and V5
- Apache Tomcat V7, V8 and V9
- Eclipse Jetty V9
- Payara Server V5
The WAR may work with other servers (it’s built on standard non-blocking Servlet API).
Build Windows Installer
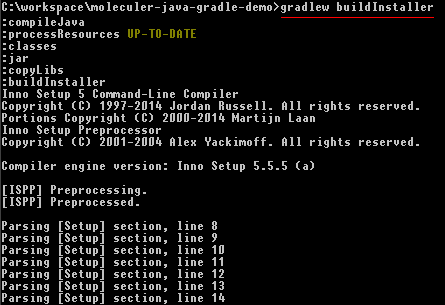
The standalone version is not Servlet-based and relies on Netty for higher performance. The project does not include any transporter libraries (JARs) in its initial state. If you want to use transporters (such as Redis, Kafka or NATS) the transporter dependencies must be listed in the “build.gradle” file. To create the installer, run the “gradle buildInstaller” command in the project’s root directory:

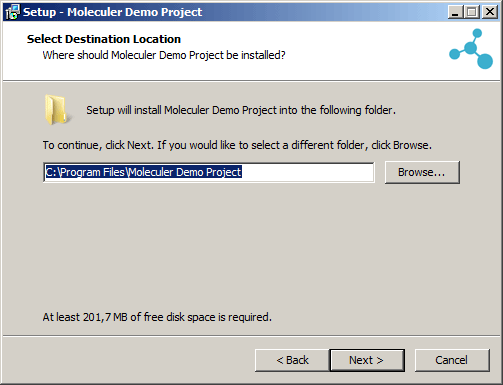
The executable installer will be generated into the “installer/dist” directory, as “moleculer_setup_1.0.0.exe”. This installer will create all required libraries and configuration files, what is needed to run the service.


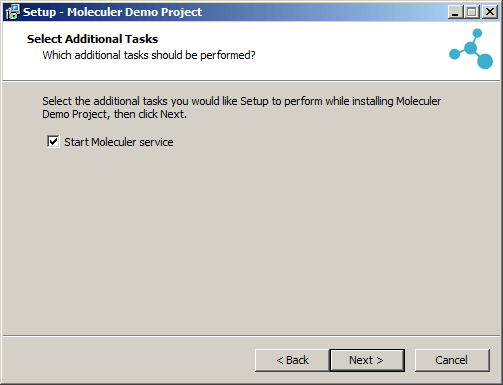
The Moleculer service can be found in the list of the Windows Services:

Make your own service
Copy the following code snippet into the “my.services” package/folder:
package my.services;

import org.springframework.stereotype.Controller;

import io.datatree.Tree;
import services.moleculer.eventbus.Listener;
import services.moleculer.eventbus.Subscribe;
import services.moleculer.service.Action;
import services.moleculer.service.Name;
import services.moleculer.service.Service;

@Name("myService")
@Controller
public class MyService extends Service {

    // --- CALLABLE ACTION ---

    @Name("myAction")
    Action action = ctx -> {

        // Read request
        String var1 = ctx.params.get("var1", "defaultValue");
        long var2 = ctx.params.get("var2", 0L);

        // Create response
        Tree rsp = new Tree();
        rsp.put("key", "value");
        return rsp;
    };

    // --- EVENT LISTENER ---

    @Subscribe("myEvent")
    Listener myEventListener = ctx -> {

        // Process event's payload
        boolean var3 = ctx.params.get("key", false);
    };

}
The “ctx.params” and “rsp” variables are hierarchical Tree structures (~= JSONs). For more information about using “Tree”, see the JavaDoc of Tree. At boot time the Spring Framework will automatically register this service as a distributed Moleculer Service, which can be called by other (Java or Node.js) nodes.
Moleculer Documentation
License
Moleculer implementations are available under the MIT license.
